Photoshop Tutorial: Fire Stroke Effect
Photoshop Tutorial: Fire Stroke Effect
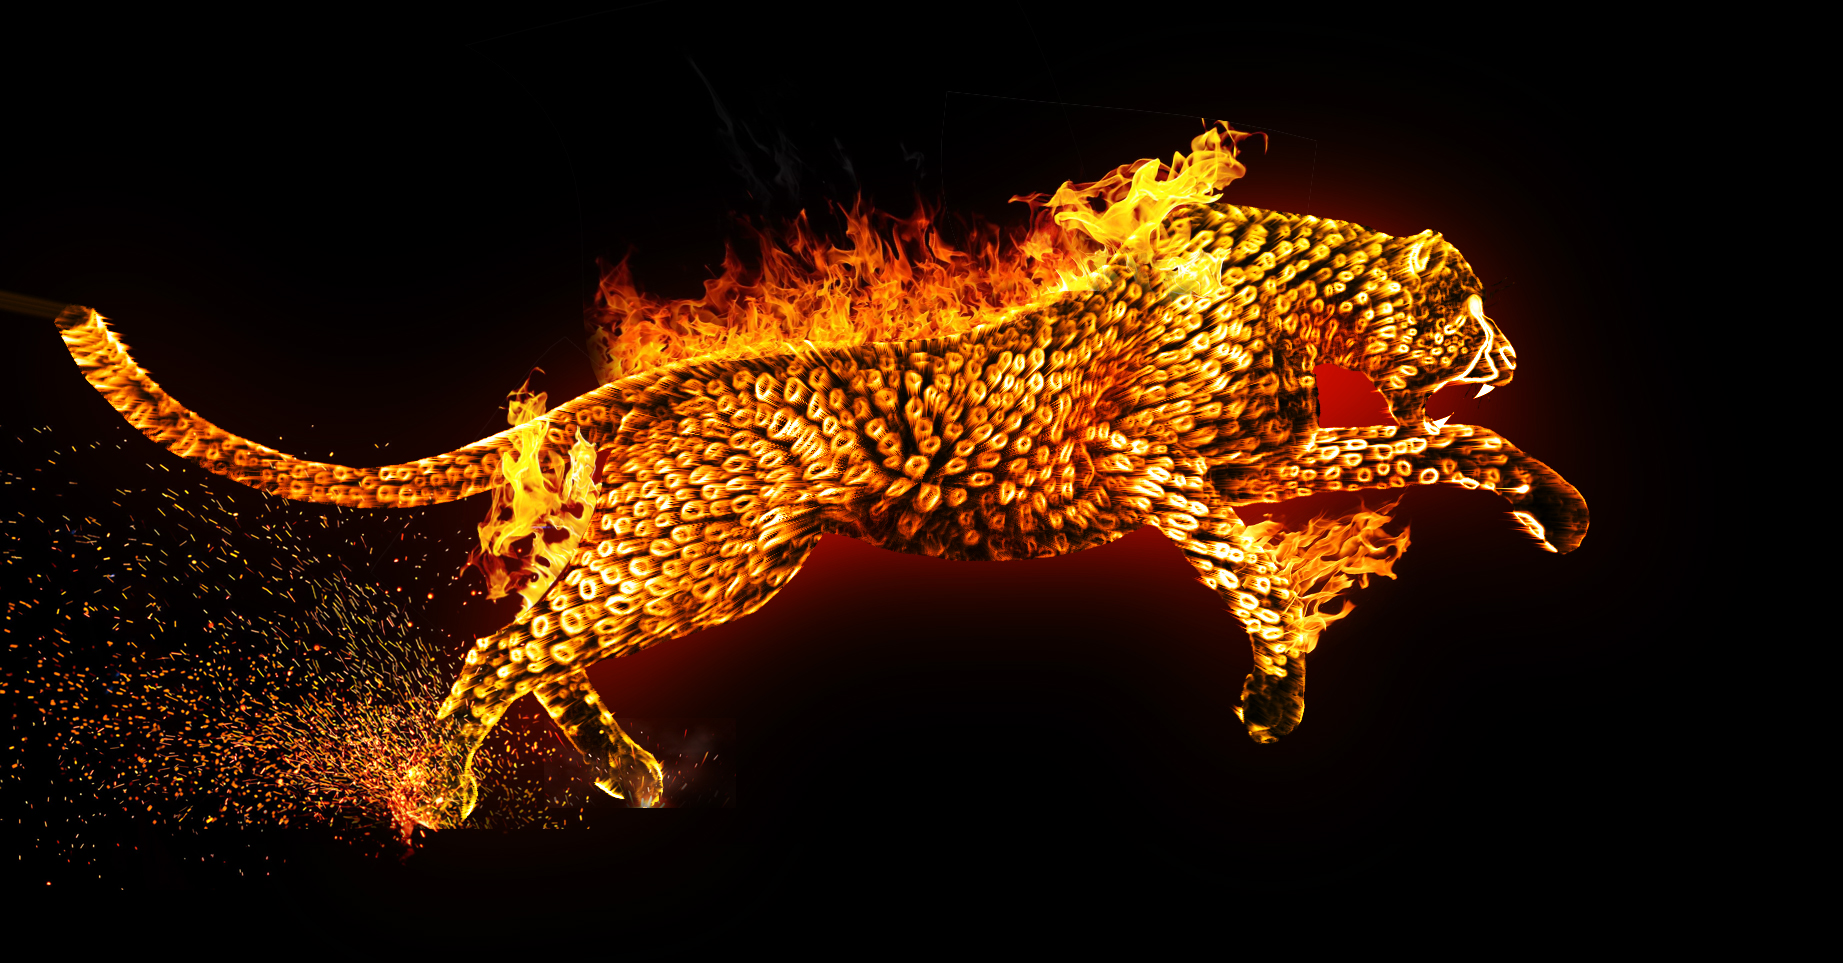
With Photoshop Tool, we could create many awesome effects for our image. In this tutorial, we’re going to take a cheetah and transform it into a spitting, crackling fire stroke. Using some of the most common Photoshop tools (like Filter Gallery, Liquify, and Blur), 4Gtools shows you how to create complicated artwork with clear instructions.
This Photoshop tutorial: Fire Stroke Effect will also give you good practice with Photoshop’s Levels and Adjustment Layers – which can be extremely powerful if used properly – as well as Layer Masks and Blend Modes to create stunning, and yet sometimes quite subtle, effects.

Step 1: Create a new black background
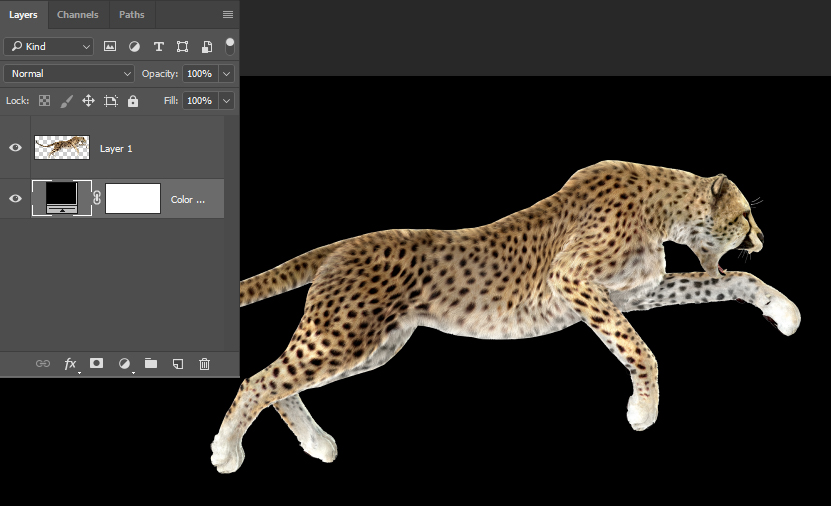
Start by opening your image into Photoshop. I open the cheetah image.
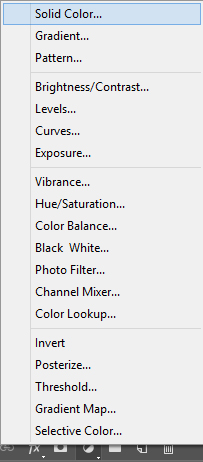
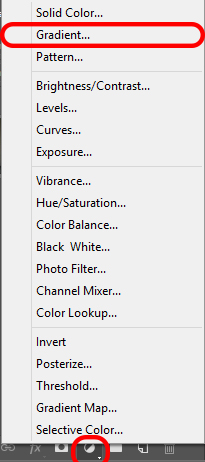
In the Layers panel, I go to the Adjustment Layer menu and select Solid Color and choose the black color in the color picker.
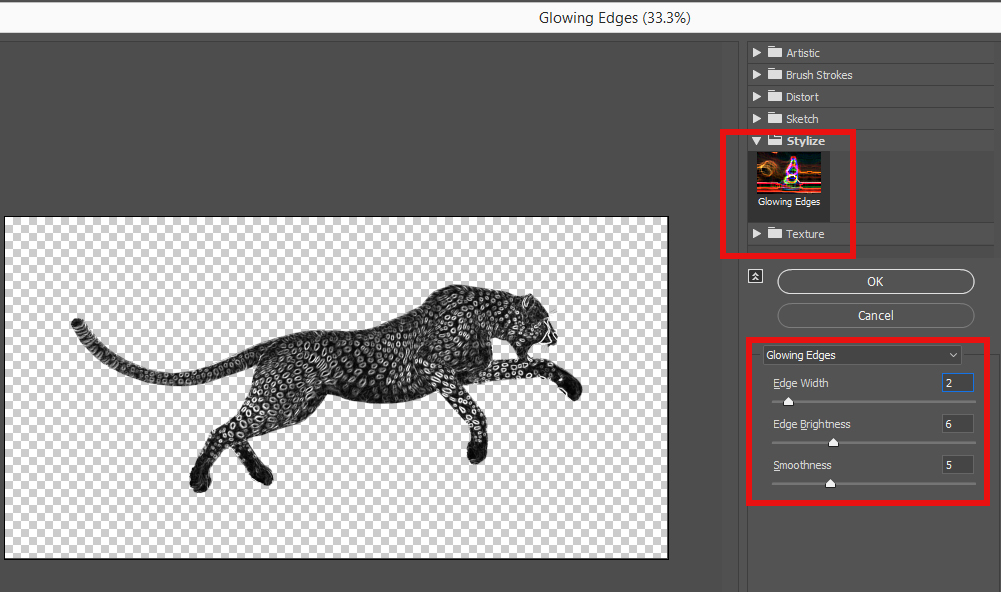
Step 2: Glowing Edges
To make a Fire Stroke Effect, we must change the cheetah into Glowing Edges.
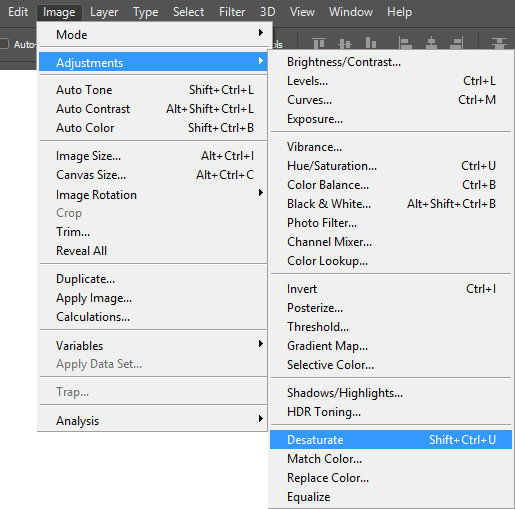
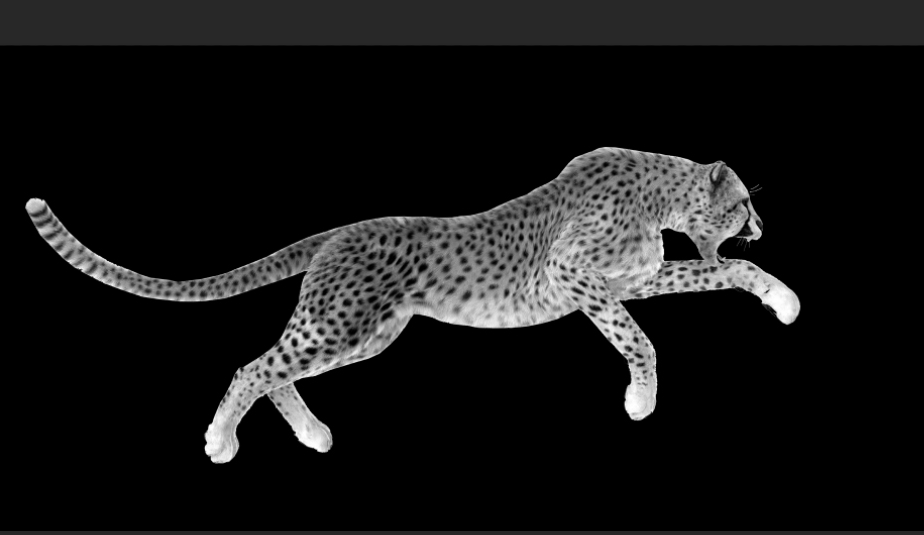
I select Layer 1 (cheetah layer) and go to Image / Adjustment / Desaturate. Desaturation makes colors more muted (more black or white added)
To create the Glowing Edges, I go to Filer / Filter Gallery.
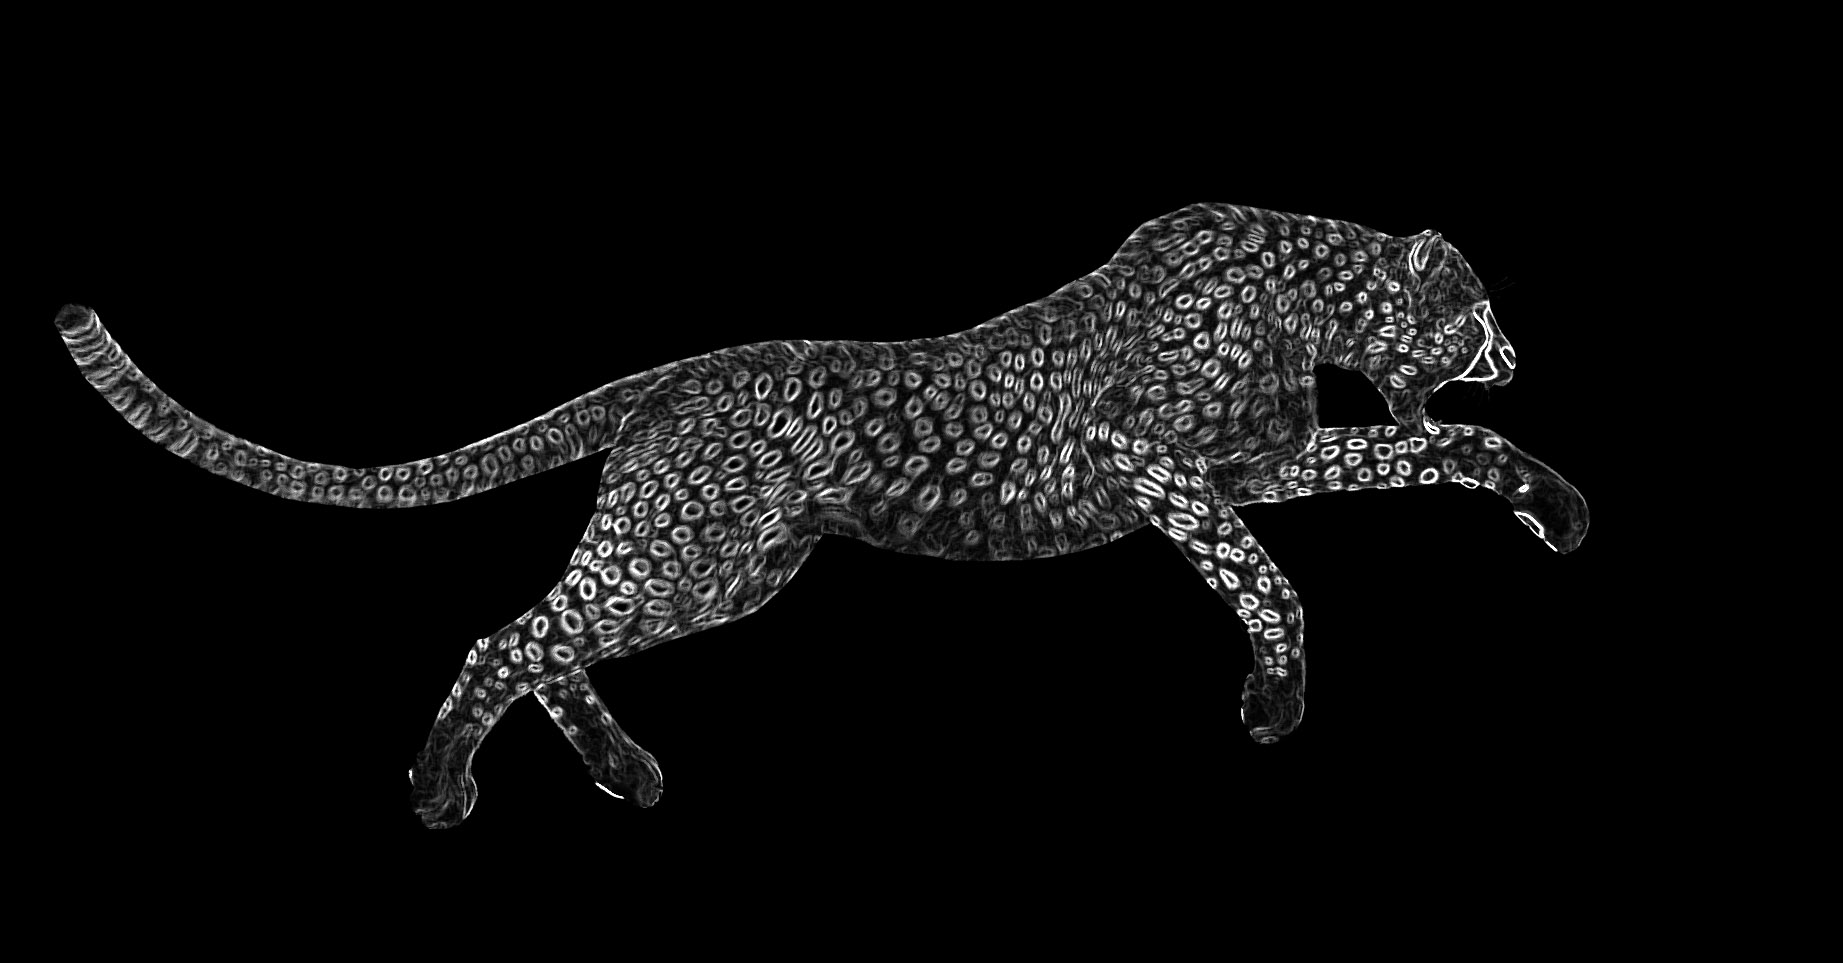
In Glowing Edges, I select Stylize and choose Glowing Edges. Edges Width: 2, Edge Brightness: 6, Smoothness: 5.
Step 3: Create a Gradient Layer
Next step, I click the Gradient Fill icon in the Adjustments panel.
In the Gradient Editor, I will separate the gradient into 3 colors: Yellow (#ffd202), Orange (#ff7e00), Yellow (#ffd202).
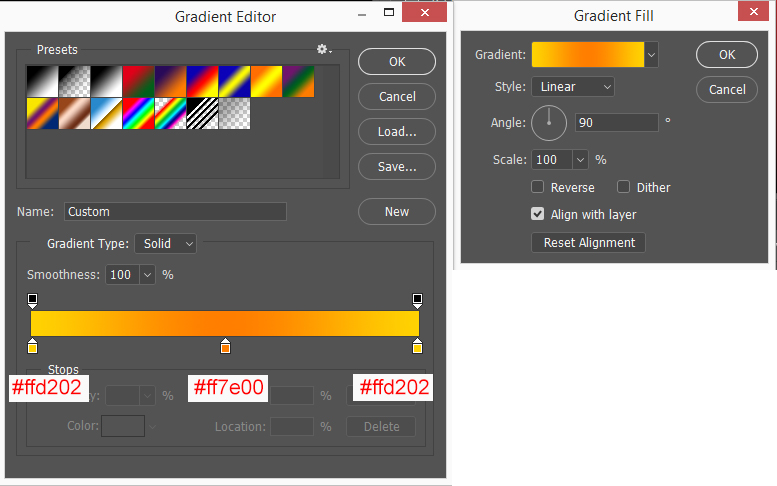
I select Gradient Fill and use Blend Mode: Overlay.
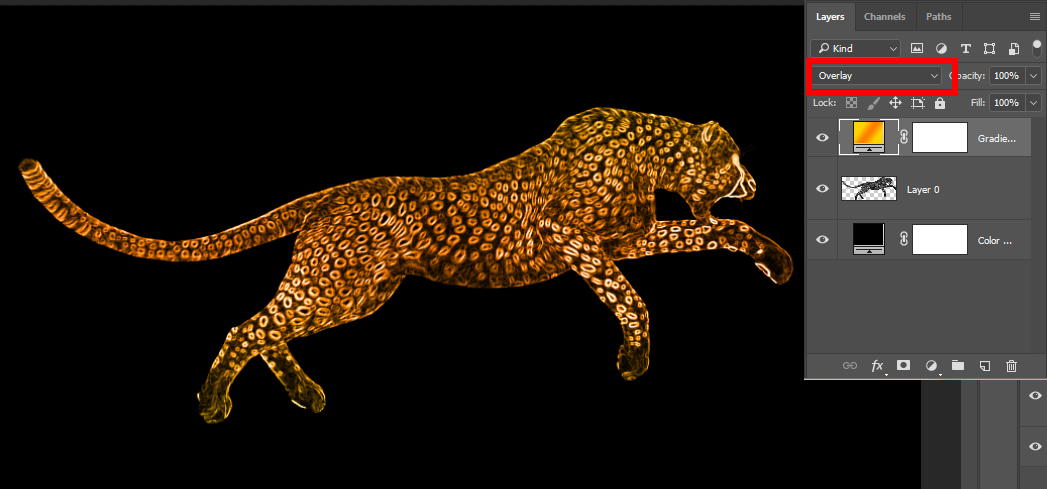
Now, the glowing edges of the cheetah have been applied by the gradient color.
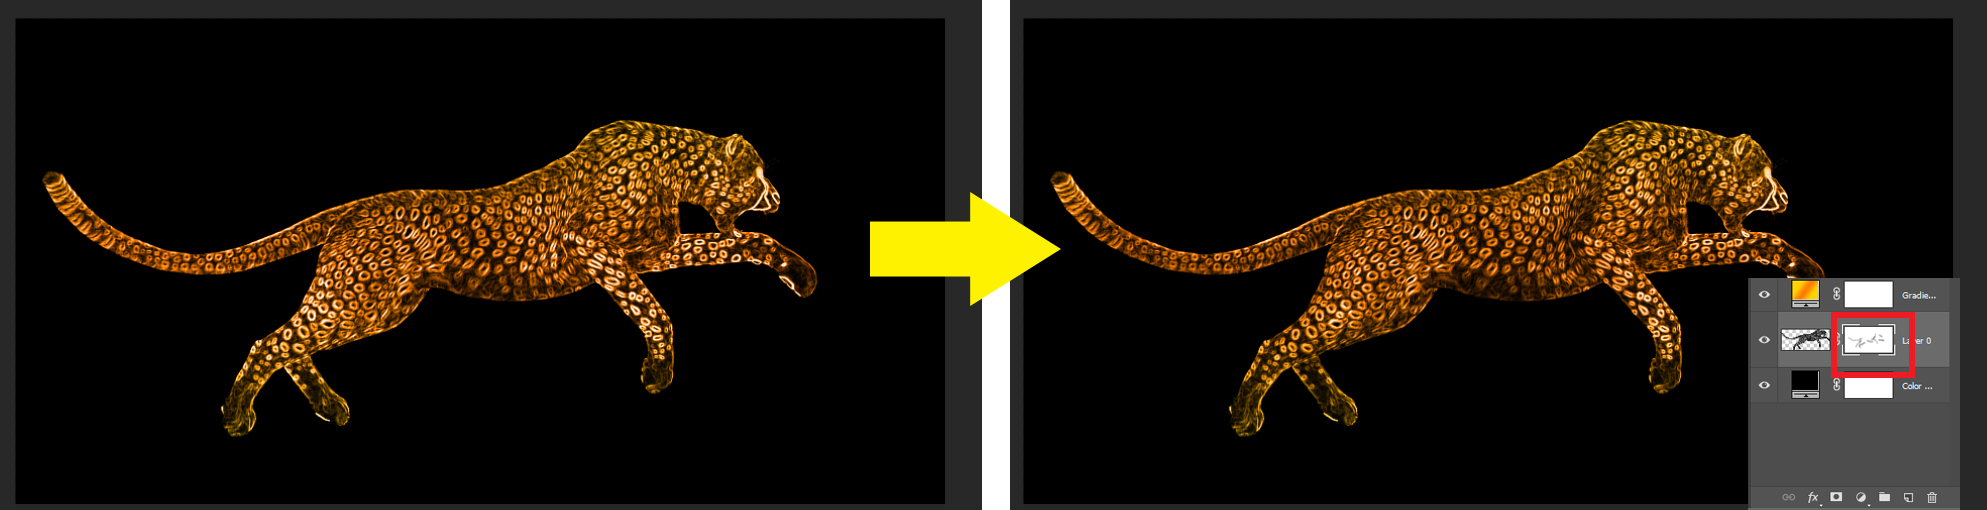
Step 4: Create Layer Mask
To make the light stroke look more natural. I create a mask in layer 0 by clicking the mask icon. I use Brush Tool and fill black color in the mask to erase some parts of the cheetah.
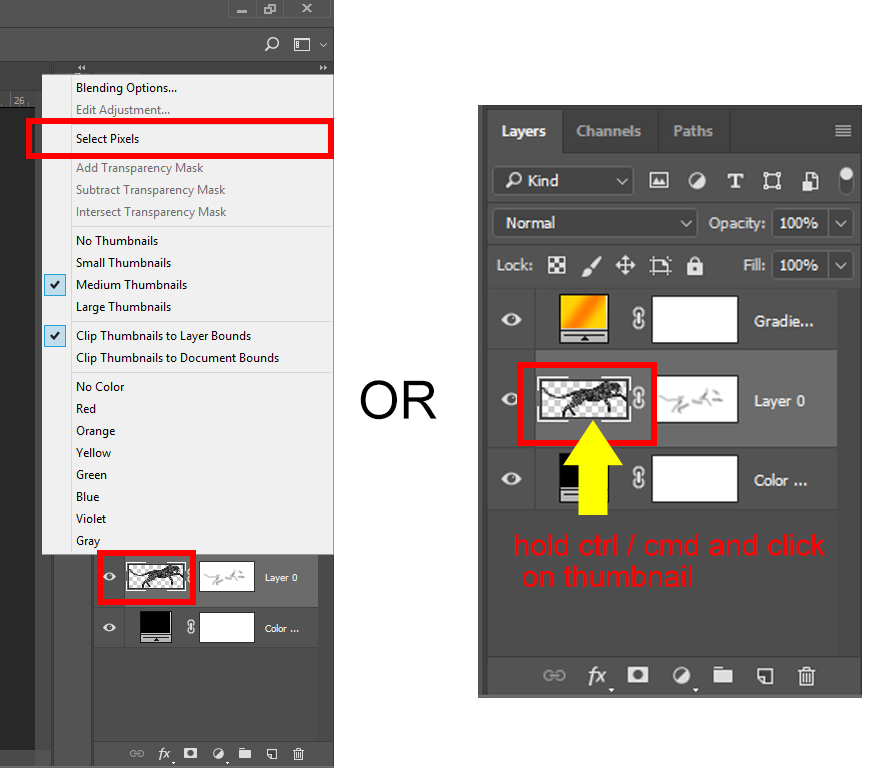
Step 4: Create the halo light
To create the halo light which will make the fire stroke effect look more real. I reselect the pixels of layer 0 by right-clicking on the thumbnail of layer 0 and choose select pixels or I could hold Ctrl / Cmd and click on the layer’s thumbnail.
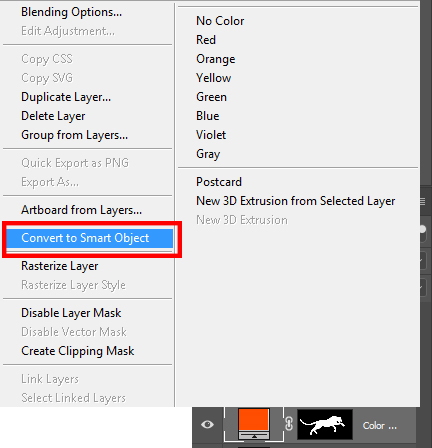
After I have the selection of the cheetah, I click on the adjustment icon and select Solid Color.
In Color Picker, I choose the red color (#ff4d00).
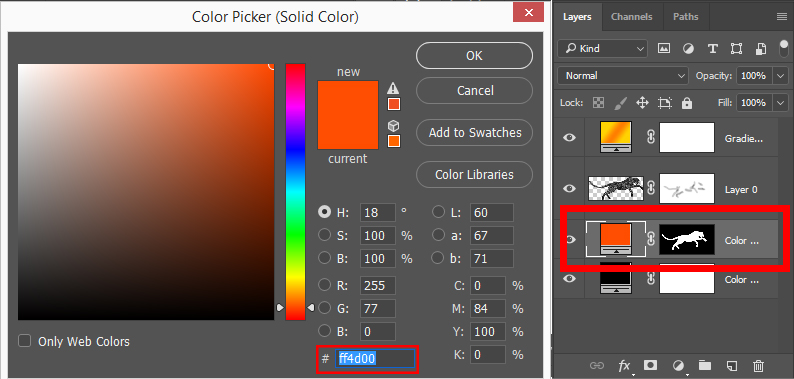
Then I go to Filter / Blur / Gaussian Blur. In Gaussian Blur, I change Radius: 80 pixels and reduce Opacity: 37%.
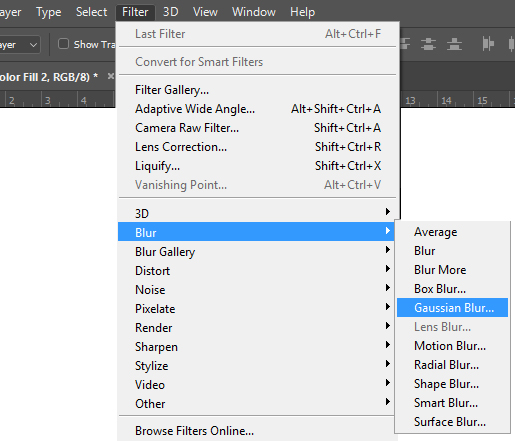

Now we have a red halo light behind the cheetah.
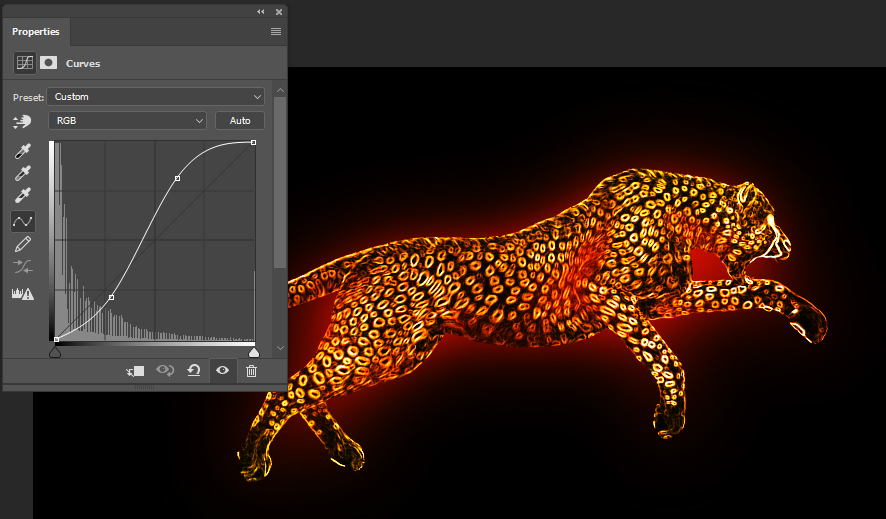
Step 7: Create high contrast lighting with Curves adjustment.
Now, I want to increase the brightness of the light stroke. I will use Curves adjustment.
To apply a Curves adjustment, do one of the following:
- Click the Curves icon in the Adjustments panel.
or
- Choose Layer > New Adjustment Layer > Curves. Click OK in the New Layer dialog box.
Drag the curve into an S shape like the below image. An S-curve adds contrast to the mid-tones at the expense of shadows and highlights. Now the light stroke of the cheetah is brighter.
Step 8: Ferocious Eye
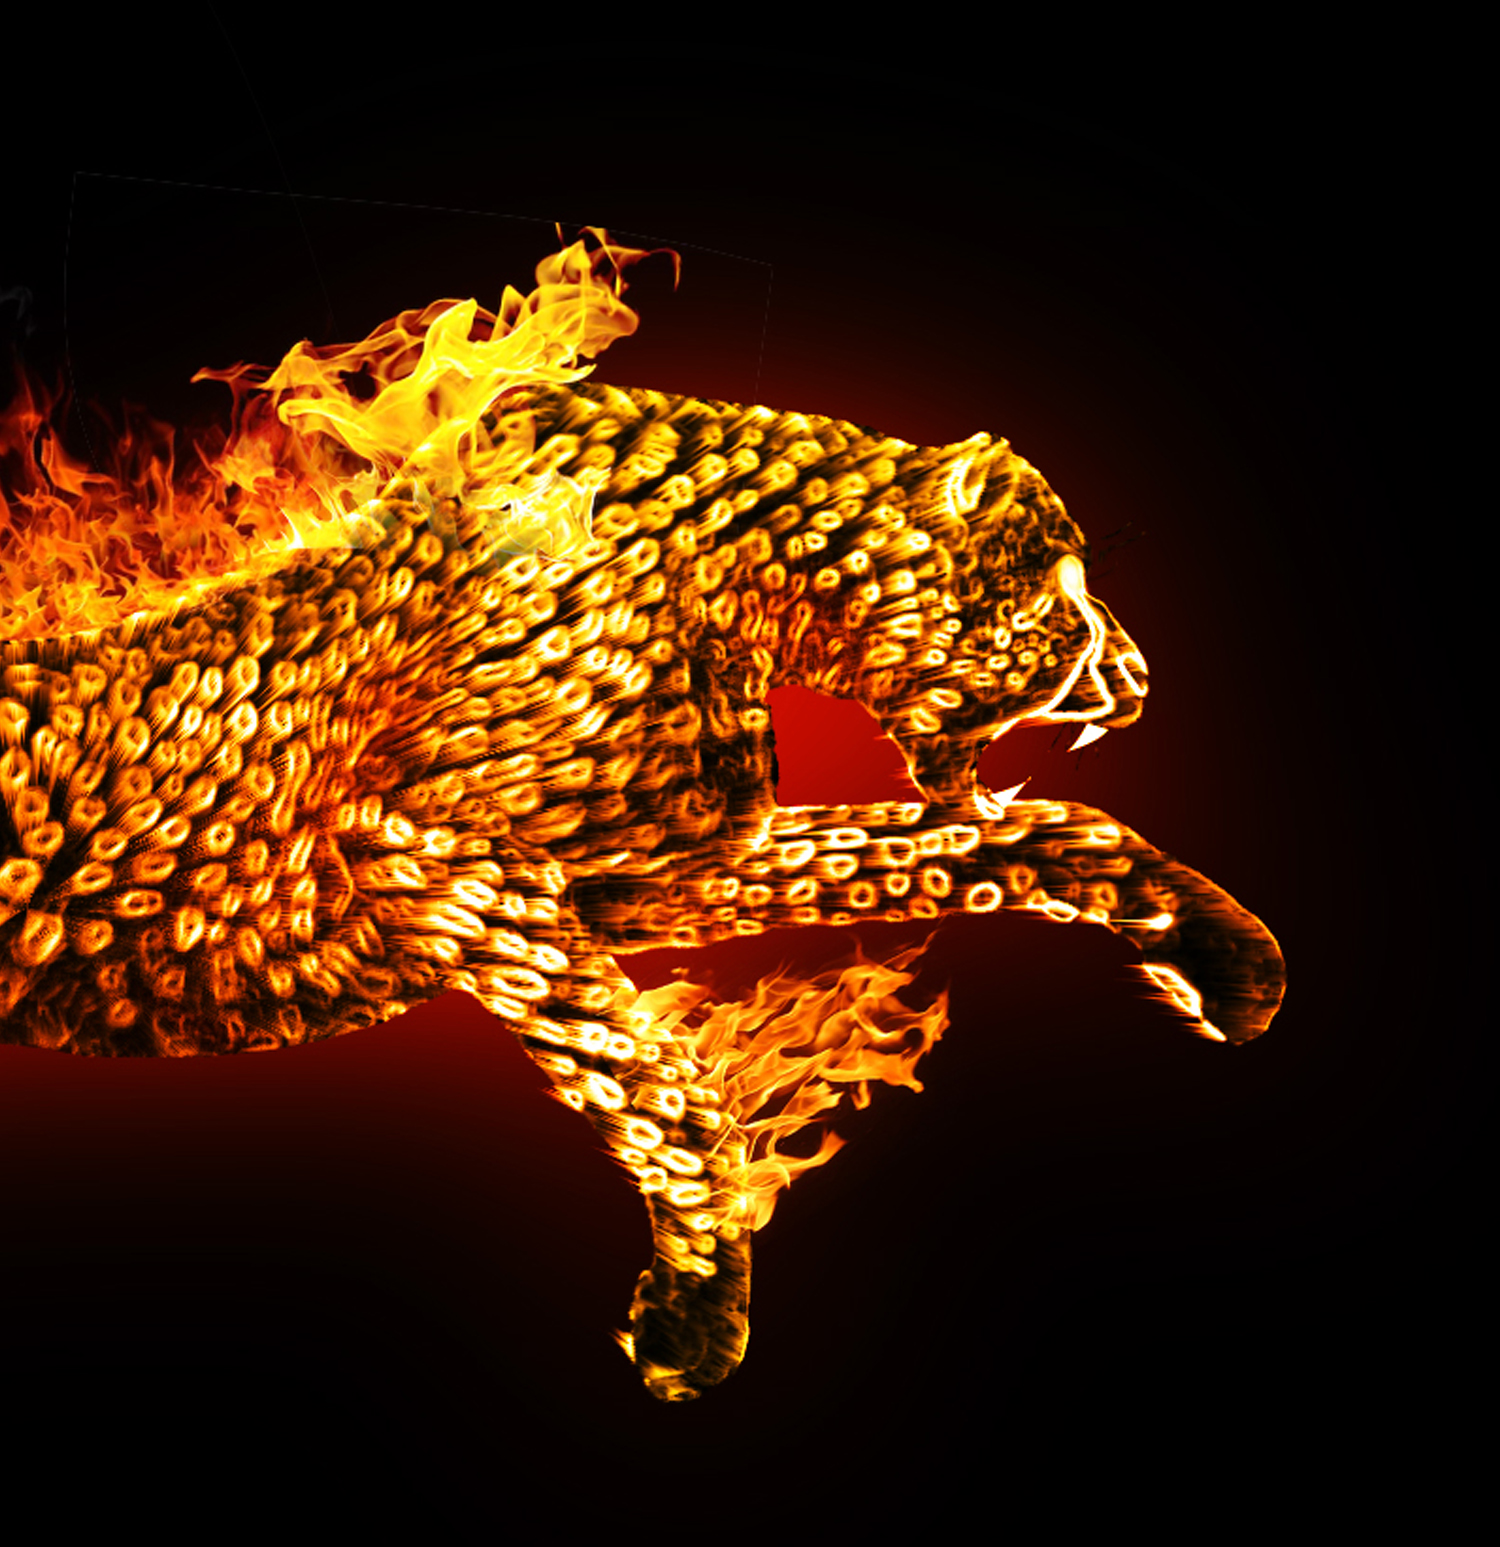
The cheetah’s eye looks so normal which does not bring us a feeling of danger or scary. So I would change its attitude by Liquify Filter. I go to Filter and select the Liquify option.
In the Liquify box, I drag the Brush cursor to deform his eye become more ferocious.
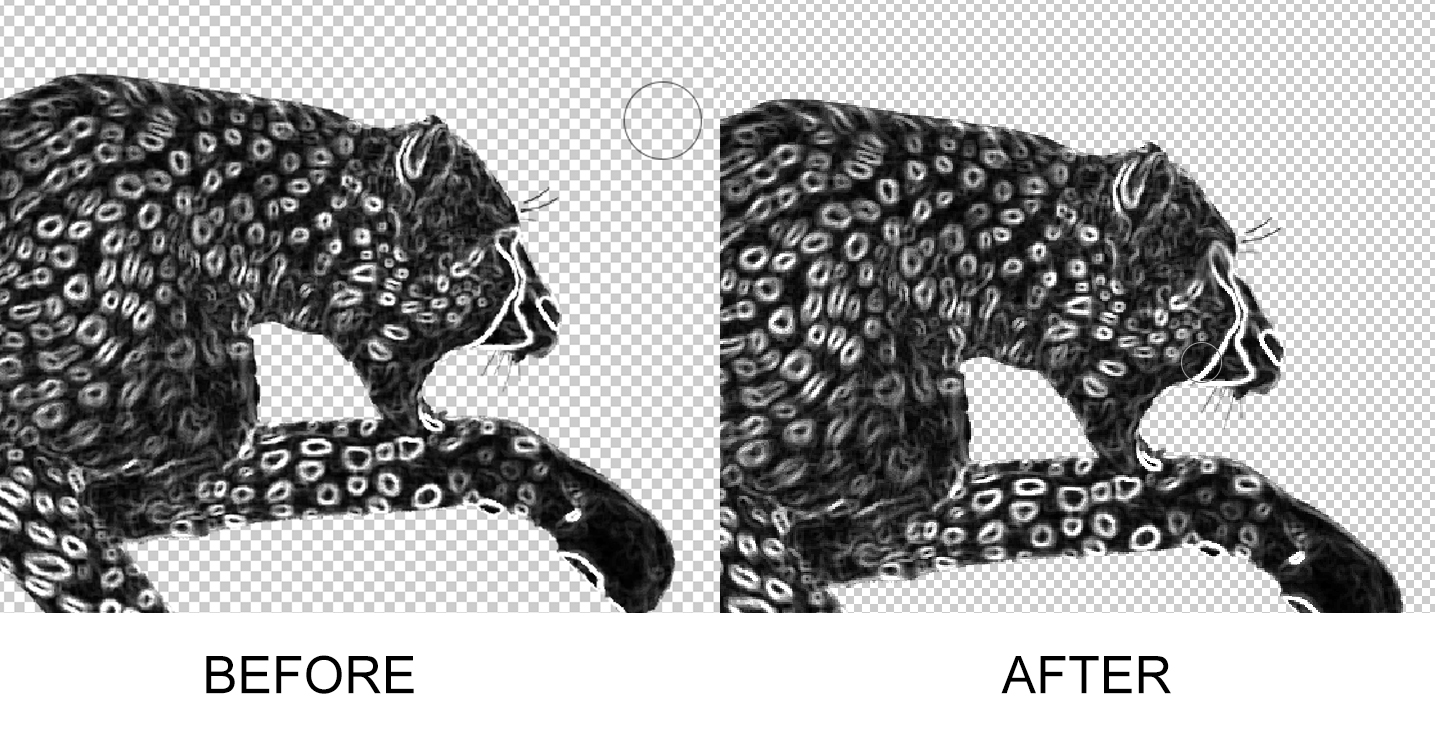
After I change the attitude of the cheetah’s eye, I will use Brush Tool and fill white color in his eye.
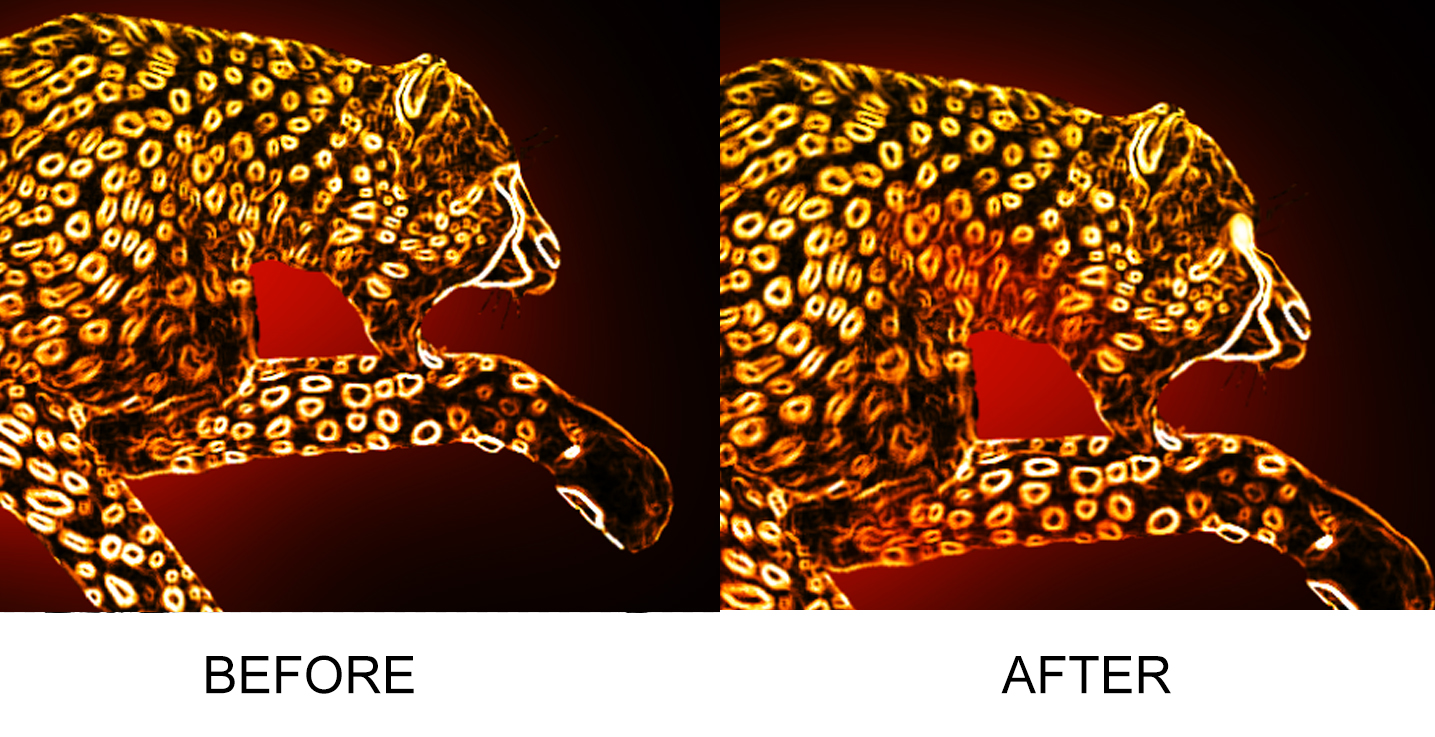
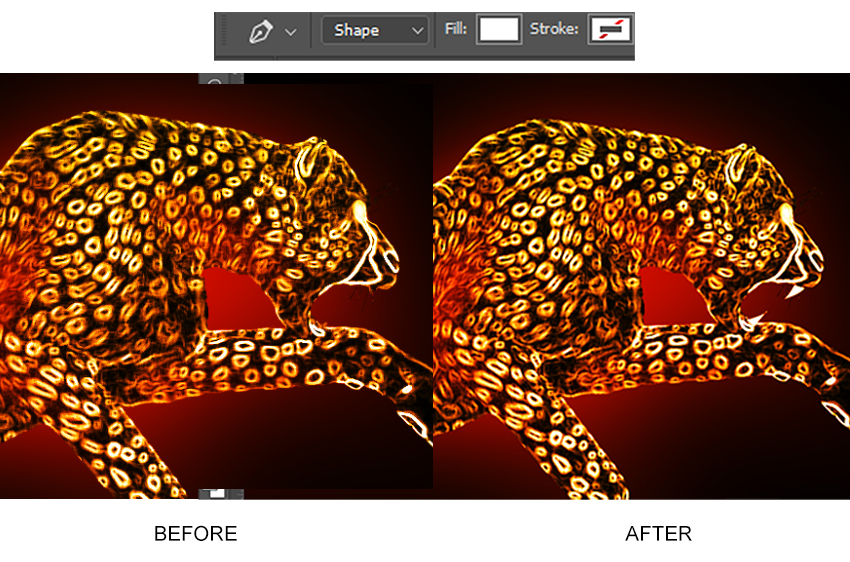
Step 9: Create sharp teeth with Pen Tool
The original teeth of the cheetah are too small. To make the cheetah look more dangerous, we must draw new long sharp canine teeth. I will use Pen Tool with white fill color in shape mode to draw it.
Step 10: Create a Light Burst.
You could see the fire is burning every light stroke of the cheetah. But how to make the fire burning harder and lighter? In this step, I will show you how to create a light burst burning inside every light stroke. First, we reselect Layer 0 ( the cheetah) and copy a new layer by
- Going to the menu and select Layer / New / Layer Via Copy
or
- Press: Ctrl / Command +J
In menu bar, I select Filter / Distort / Polar Coordinates.
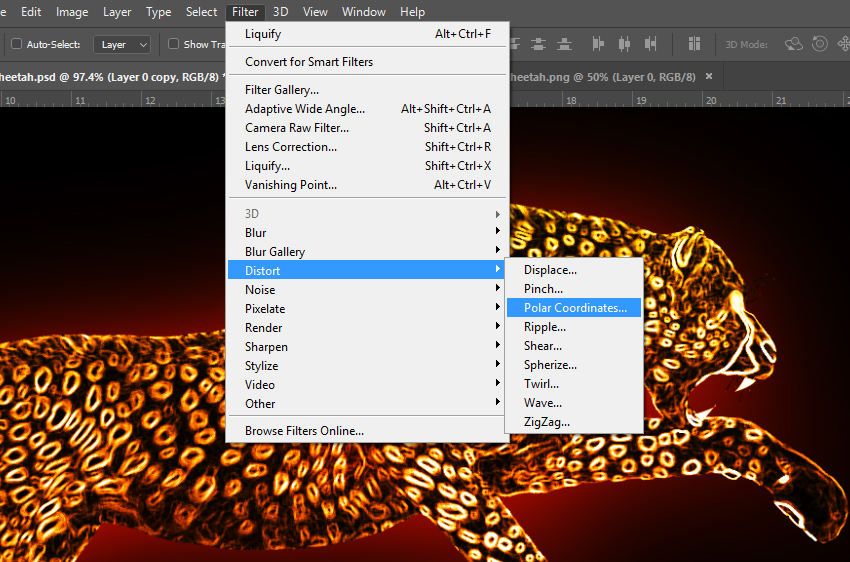
In the Polar Coordinates box, I choose Polar to Rectangular.
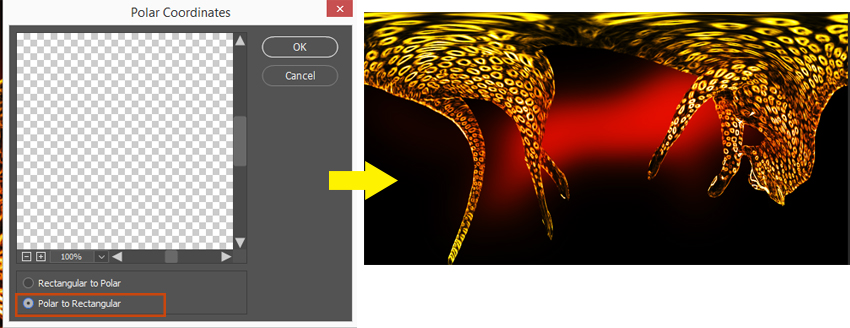
Polar to Rectangular
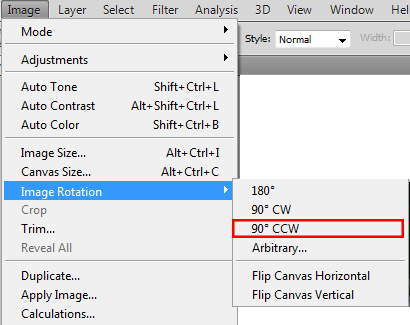
Next, I go to Image / Image Rotation / 90º Clockwise.
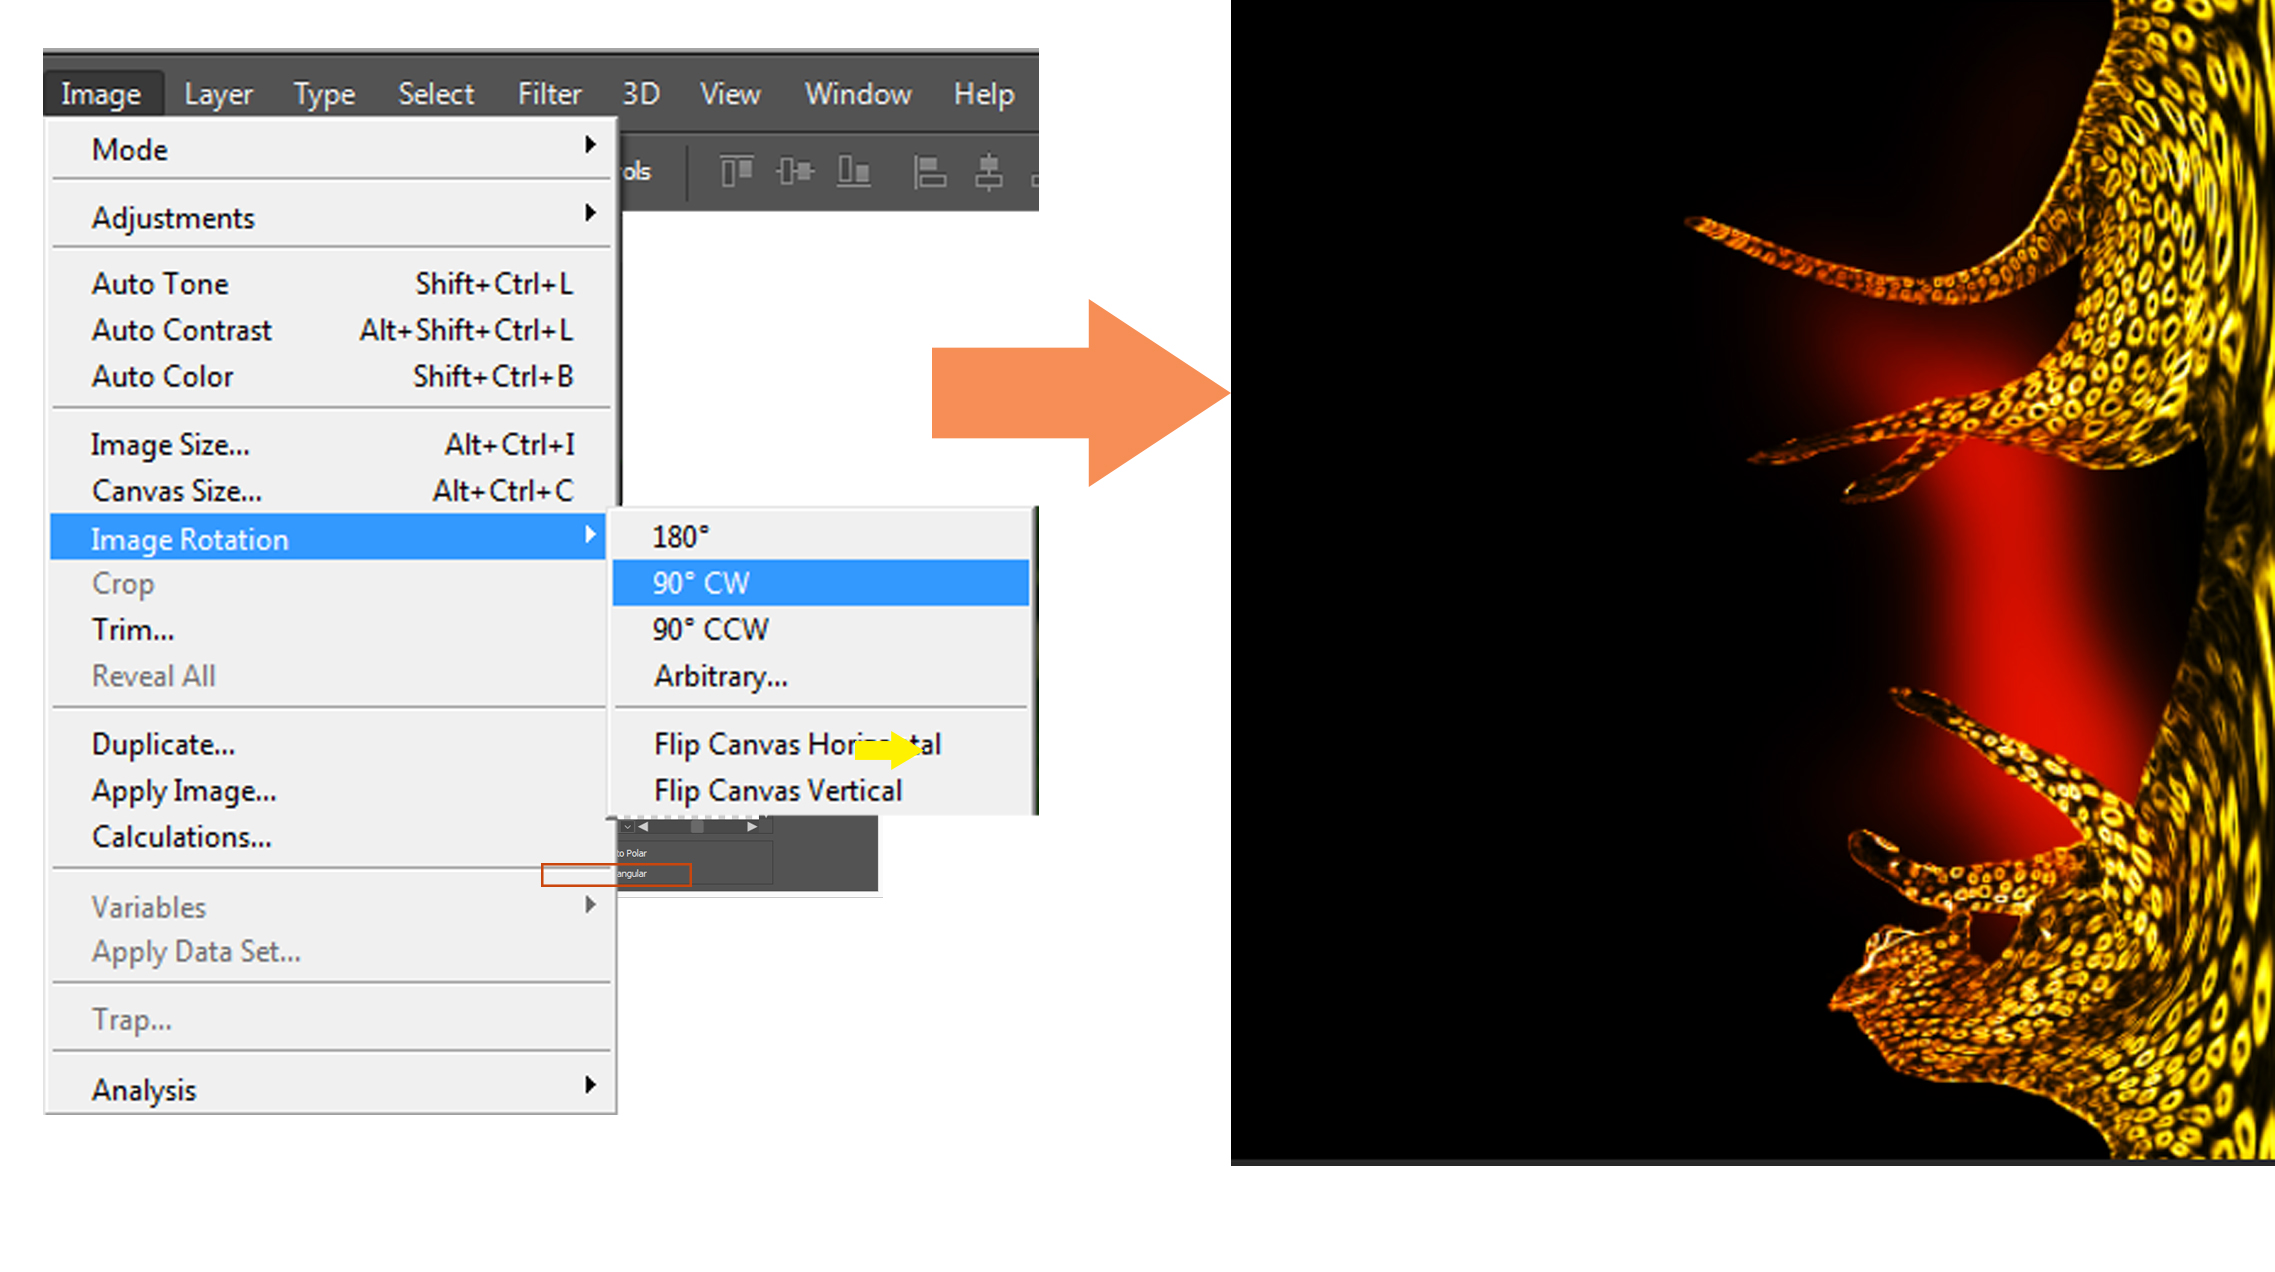
After I rotate the image 90º clockwise, I will also go to Filter / Stylize and select Wind.
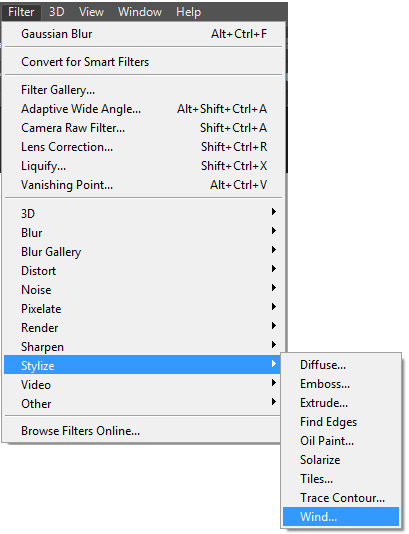
In the Wind box, there are 2 options for us to choose from:
- Method: Wind
- Direction: From the Right
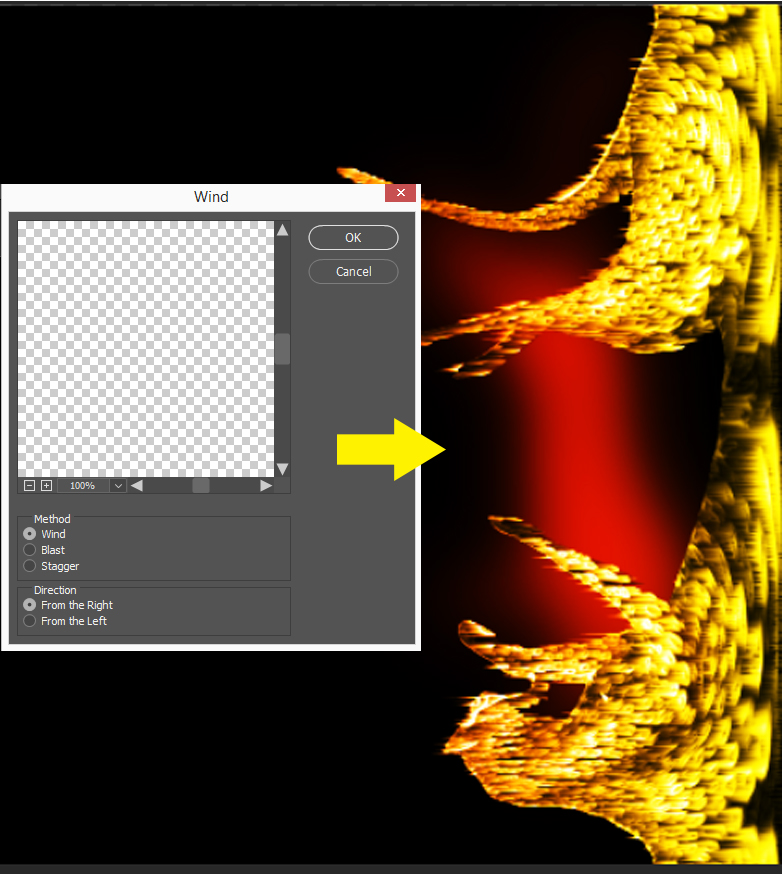
Now, I turn everything back. I go back to the menu and select Image / Image Rotation / 90º Counter Clockwise to rotate our image to its original state.
Finally, I go to Filter / Distort and select Polar Coordinates. In the Polar Coordinates box, I choose

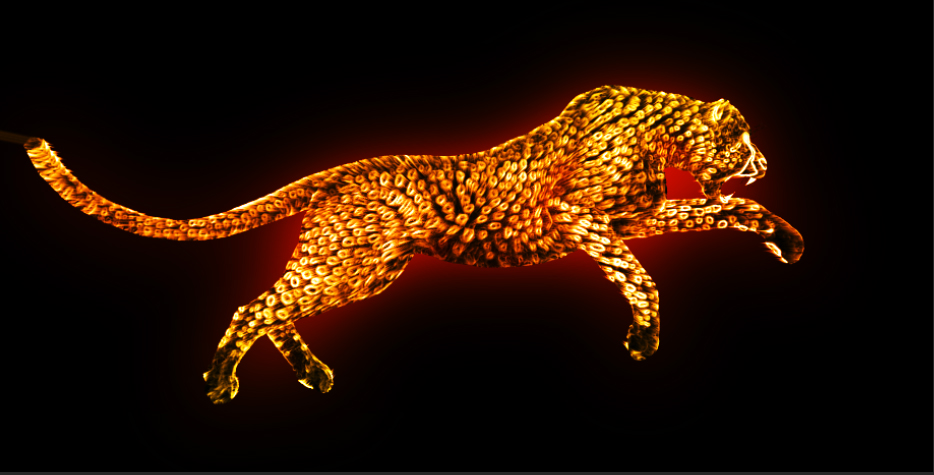
After you click Ok to finish, you could see light burst inside our cheetah’s fire stroke. It’s so beautiful.
Step 11: Add Fires into the cheetah
In this step, you could see it is so easy. First, I open the Fire image and move it into our cheetah image. I scale the image smaller by Free Transform
To turn on Free Transform, do one of the following:
- Choose Edit > Free Transform.
or
- We can press: Ctrl (Window) / Command (Macos) + T
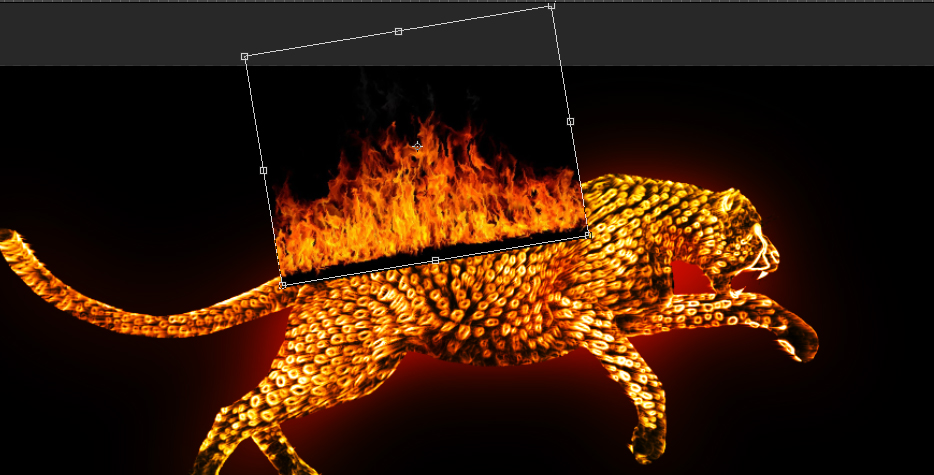
Right-click and choose the Warp option to deform the fire image.
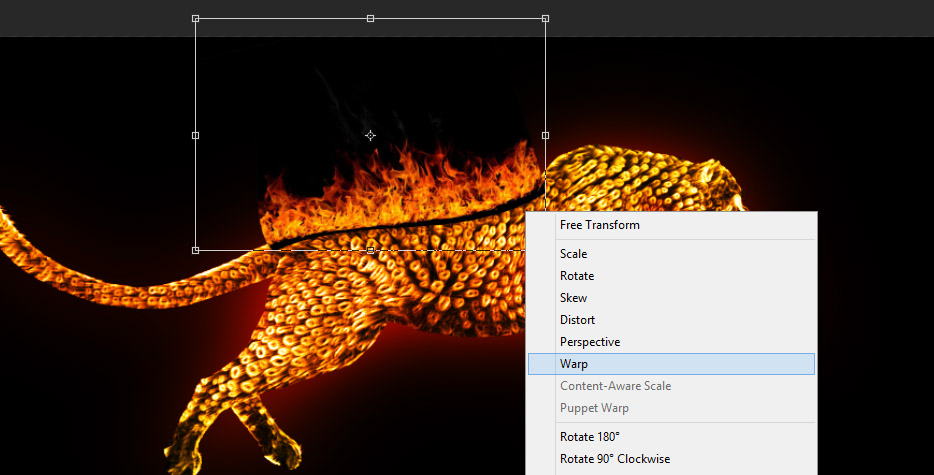
Press Enter to finish. Then we will choose Blend Mode: Screen.
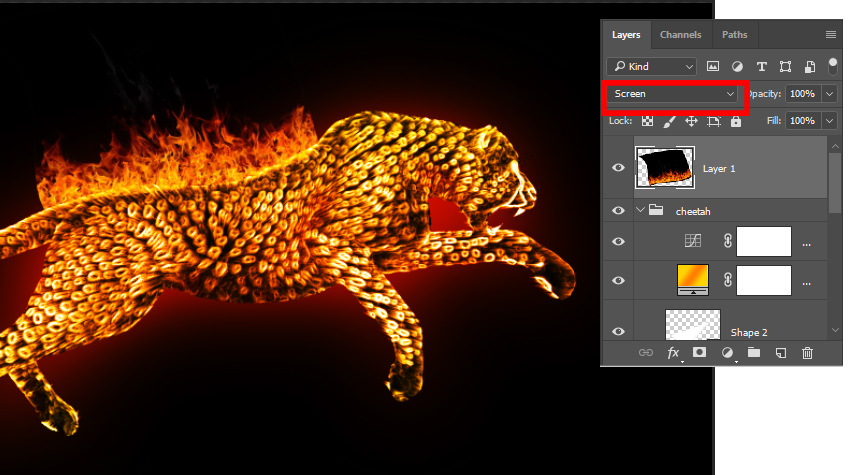
I will create a Mask for the Fire Layer and use Brush Tool with black color to erase some unused parts of the image such as the image’s border.
I will do the same steps with the next fire images. It will make our main character (the cheetah) look beautiful in the fire stroke effect.